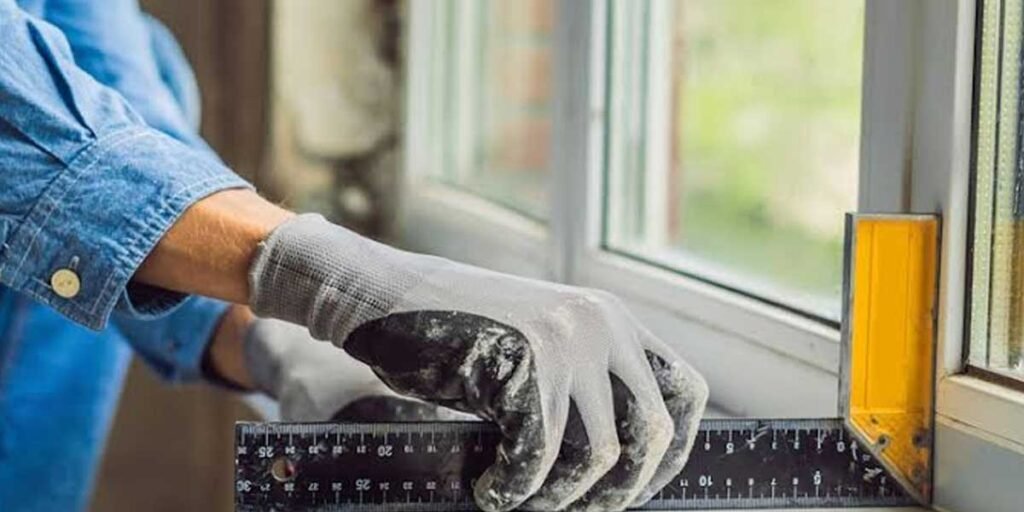
The window installation process comes down to five phases, measure and order, remove the old window, prep and flash the opening, set and seal the new unit, then finish and test and the two that decide whether you get a dry, smooth-operating window are the flashing and the final seal. A skilled installer can typically set a single window in an hour or two, but the prep and the waterproofing around the opening take longer and matter more than the set itself, adds Peak Property Management experts.
Here is the window installation process explained the way a good crew actually runs it, with the tools and safety stops you need before you start, a checkpoint for each phase, the failure points that send people back to the hardware store, and a clear line on which parts are reasonable to do yourself. If you are budgeting first rather than installing, the window installation cost calculator on this site gives you the per-window numbers to plan around.
What you need before the first cut
Measure, order, and clear the work site before any window moves, confirm the size and gather the tools, and line up how the old glass will be handled, because a heavy unit and loose debris turn an hour-long job into a half-day one. The checklist below covers what a first-time installer should have on hand.
| Before you start | Checklist | Why it matters |
|---|---|---|
| Measure | Height at left, center, right; width at top, middle, bottom | Windows are rarely square, so three readings catch the right unit |
| Order | Window + flashing tape + caulk + shims + spray foam | Missing waterproofing parts stall the flashing step |
| Tools | Utility knife, pry bar, level, shims, hammer, screwdriver, foam gun | All needed before the old window is out |
| Safety | Gloves, eye protection, a helper for heavy glass, ladder check | A double-pane window is heavy and glass cuts instantly |
Confirm the replacement is the right type for the opening before ordering, and check your local building department for permit requirements on exterior work; the requirements vary by municipality and are not something to guess at.
Step one: measure and order
Measure height at the left, center, and right and width at the top, middle, and bottom, then order from the tightest useful dimension, because an opening that looks square rarely is. A single bad measurement throws off the whole install and leaves you with a window that does not sit flush.
Older homes are far more likely to be out of square, so the three-reading habit is not optional; it is what lets a crew set a unit that seats evenly.
Order the window with the right glazing for your climate and confirm it is the correct opening style, then set a delivery date that gives you a clear day to work.
Step two: remove the old window
Score the frame with a utility knife, remove the fasteners and stops, and lift the old unit in one piece with a helper, using a pry bar only where needed; a clean removal protects the opening for the new flashing. Expect to reach old sash weights or springs in older homes and cut them free with care.
Work top-down on the stops (interior, between sashes, exterior) so the sashes release in order, and watch the glass as the frame tips, since a cracked pane is the most common removal injury.
Set the pieces aside for disposal rather than letting them rest against the wall, and sweep the opening clean of dust and debris before the flashing tape goes on.
Step three: prep and flash the opening first
Flash the opening before the window goes in, not after: a clean, level sill gets a strip of flashing tape that sheds water outward, and getting this order right is the single best leak prevention.
Fine Homebuilding’s best-practice flashing method keeps the weather barrier lapped so water never runs behind the window frame.
Dry-fit the new unit before any caulk so you can check level and plumb on the sill and shim where needed, then set the window aside. Apply a bead of caulk along the top, the stops, and the sill, and press the window onto it to form the seal, then secure it from the inside with the fasteners. This is where rushed work shows up later as a damp wall, which is why a reputable supplier’s technical guidance and a licensed installer’s habit are worth following.
Step four: set, shim, and seal the new window
Rest the window on the sill stops, level and plumb it with shims, and screw it into the framing, then fill the gaps around the perimeter with low-expansion spray foam that does not bow the frame. A window that is set level and square opens and seals correctly; one that is forced can bind and draft.
Check that the sashes slide or swing evenly and that the weatherstripping meets the frame all the way around before the foam cures. Let the foam set, trim any excess, and make sure the frame was not pushed out of alignment when the screws were driven, since a pulled corner is a silent source of a draft.
Step five: finish, trim, and test
Confirm plumb, level, and square, test that the window opens and closes smoothly and locks, drill or verify the weep holes so moisture drains, then install the trim and caulk the interior bead. These final checks are what turn an installed window into a finished one.
Weep holes at the sill let condensation and rain drain rather than pooling, so they must stay clear. Finish the exterior and interior trim, apply a smooth caulk bead on the inside where the frame meets the wall, and give the whole unit one last operation test before you call the job done.
Signs a window was installed wrong
A badly installed window gives itself away in a few places: a draft at the seal, a sash that binds or will not lock, a gap between the frame and the wall, or water trapped along the interior sill. Each of those points back to a skipped step, and they are worth checking before you finish up.
- Draft at the frame points to a missing or pinched weather seal.
- A sash that binds or will not lock means the frame is out of square or was screwed with the opening forced.
- Water or damp on the interior sill is almost always a flashing or caulk failure, the sign of the opening flashed after the window instead of before.
- A visible gap and daylight between frame and wall means the foam or trim was skipped.
- Pooling at the sill means the weep holes are blocked or the sill is not level.
None of these fail instantly, but each gets worse with weather. If you spot one, address the seal or flashing before the finish paint goes on.
A water intrusion that shows up after the drywall is the expensive kind.
DIY versus professional window installation
Do-it-yourself makes sense for a routine, same-size swap on the ground floor with a clear work site and no water damage at the opening.
The flashing-first detail, the heavy glass, and an upper-story install all favor hiring a crew; weigh the physical work and the leak risk against the saved labor before you commit.
A ground-floor, straightforward replacement is the honest DIY boundary: the window is manageable with a helper, the flashing is accessible, and the warranty on a self-install is typically intact only if the opening is dry and square. Upstairs windows, oversized glass, beveled or brick openings, or any rot at the frame tip the scale to a professional, who carries the lifting equipment, the warranty work, and the flashing detail that keeps water out.
Questions people ask about window installation
Do you tape the bottom of a window when installing?
Yes, when it is part of the correct flash order. Window flashing tape goes on the sill and the lower frame so water sheds outward, and the weather barrier should lap over the flashing rather than behind it. A correctly flashed window drains, not holds, water.
How long does a typical window installation take?
A skilled installer can typically set a single standard window in an hour or two, but a multiple-window or replacement job with trimming, flashing, and finishing runs longer. Plan a full day for a few windows or context that involves repair behind the frame.
What are the warning signs of an incorrect install?
Look for a draft at the seal, a sash that binds or will not lock, a gap and daylight between frame and wall, or water pooled on the interior sill. Each points to a skipped flashing, caulk, or alignment step that gets worse with weather.
Is DIY window installation worth it?
It is worth it only for a routine, same-size, ground-floor swap with a dry, square opening, a helper, and the correct flashing. The labor you save is offset by the leak risk and the heavy glass whenever the opening is not straightforward.
The waterproof flashing detail described above follows the method covered in Fine Homebuilding’s window-flashing best practice guide.
The window installation process step that saves the most trouble
Flash the opening before the window goes in, then seal and test thoroughly.
The flashing is the difference between a window that drains and one that rots a wall; every step before it is preparation, and every step after is verification. If you install it, walk the checklist; if you hire it, watch the flashing go in before the unit does.
A window that is measured, flashed-first, and sealed correctly will open, close, and drain for years, which is the whole point of the process.
