That constant drip, drip, drip from your faucet isn’t just annoying—it’s a waste of water and money. When the leak comes from the handle, it signals a problem with an internal seal. Fortunately, learning how to fix a leaky faucet handle is a straightforward DIY project that most homeowners can tackle with a few basic tools. This guide will walk you through the process, from diagnosing the problem to making the final repair.
Understanding Why Your Faucet Handle is Leaking
Before you start, it helps to know what’s causing the leak. Most faucet handle leaks are due to a worn-out O-ring or a faulty cartridge, gulfincomeproperties.com notes that over time, the constant friction from turning the handle, combined with mineral buildup from hard water, causes these small but essential parts to degrade. When they fail, water seeps past the seal and pools around the base of the handle.
Common Causes of Faucet Handle Leaks
The specific cause of your leak often depends on the type of faucet you have. Here’s a quick breakdown of the most common culprits for different faucet styles.
| Faucet Type | Most Common Cause | Primary Symptom |
|---|---|---|
| Single-Handle (Cartridge) | Faulty Cartridge or Worn O-Rings | Water leaking from the base of the handle when on. |
| Single-Handle (Ball) | Worn Cam Seals or Gaskets | A leak from the handle base, often worse when moving the handle. |
| Double-Handle (Compression) | Degraded Stem Packing or O-Ring | Water seeping out from under a specific handle when it’s turned on. |
| Double-Handle (Cartridge) | Worn-Out Cartridge | A steady drip from under one handle that stops when the valve is off. |
Tools and Materials You’ll Need
Gathering your tools before you begin will make the process much smoother. You likely have most of what you need already. Here’s a checklist to get you started:
- Adjustable Wrench
- Phillips and Flathead Screwdrivers
- Hex Keys (Allen Wrenches)
- Slip-Joint Pliers
- Replacement Parts (O-rings, cartridge, or seals)
- White Vinegar and a small brush for cleaning
- A few clean rags
How to Fix a Leaky Faucet Handle: A Step-by-Step Guide
With your tools ready, it’s time to get to work. Follow these steps carefully to ensure a successful repair.
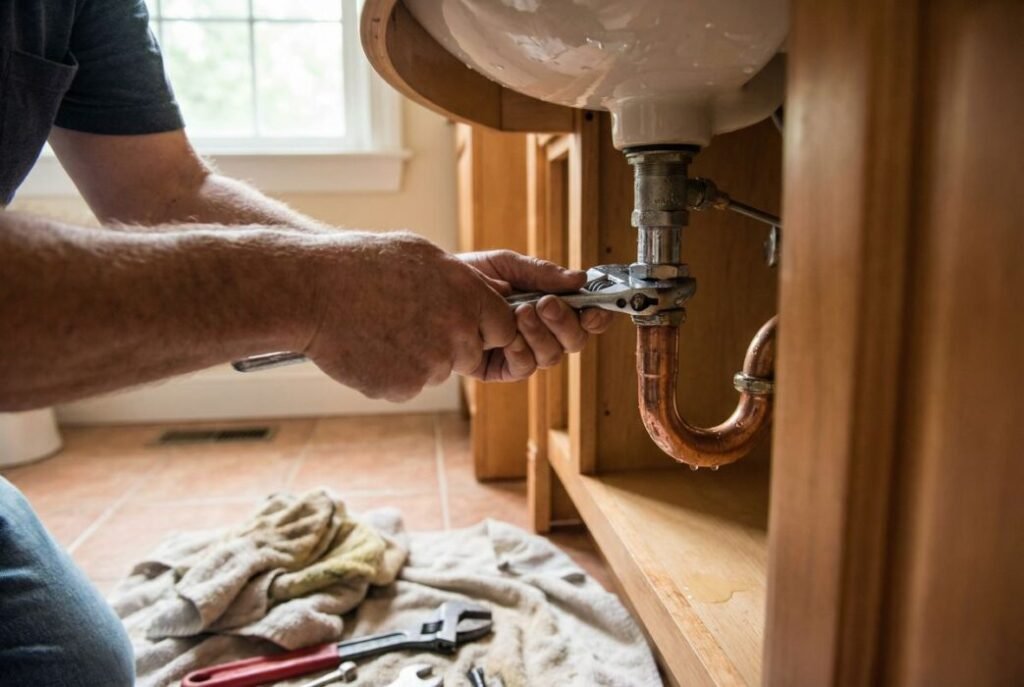
Step 1: Shut Off the Water Supply
This is the most critical step. Before you do anything else, turn off the water to the sink. Look for the shut-off valves under the sink—one for hot and one for cold—and turn them clockwise until they are tightly closed. Turn on the faucet to drain any remaining water in the lines.
Step 2: Remove the Faucet Handle
The method for removing the handle depends on your faucet. Many have a small decorative cap that you can pry off with a flathead screwdriver to reveal a screw. Others have a small hex screw at the base of the handle. Loosen the screw and gently pull the handle off.
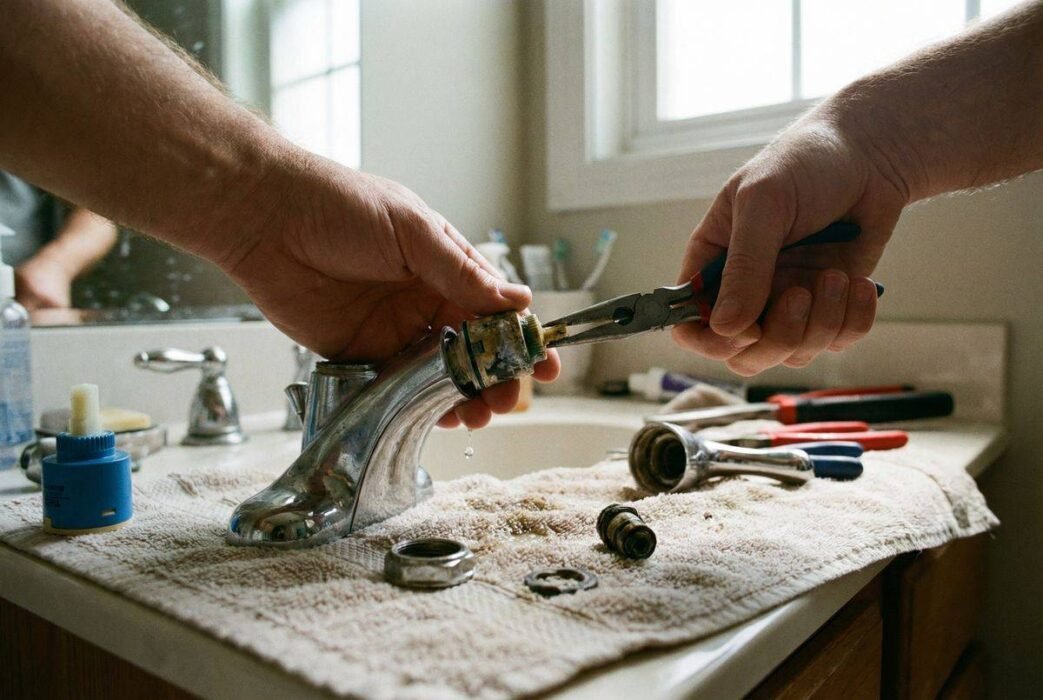
Step 3: Disassemble the Faucet Body
Once the handle is off, you’ll see the top of the faucet cartridge or stem. Use an adjustable wrench to loosen the packing nut holding the cartridge in place. If you have a cartridge faucet, you may need a cartridge puller tool if it’s stuck. Carefully remove the cartridge or stem assembly.
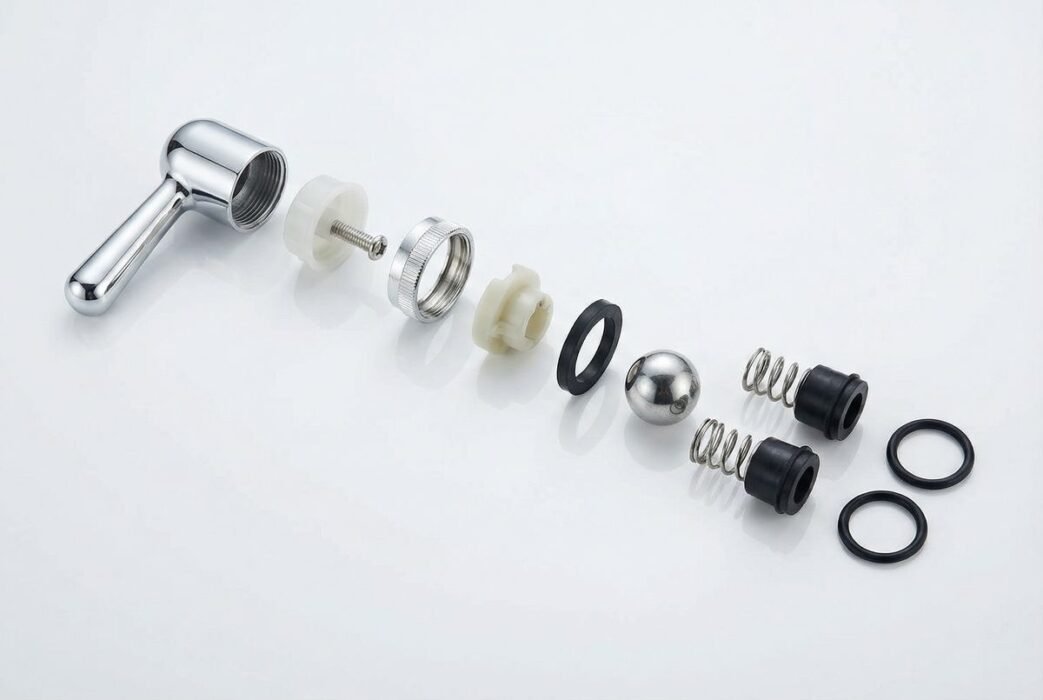
Step 4: Inspect and Replace Worn Parts
With the internal components removed, inspect the O-rings, seals, and the cartridge itself for any signs of wear, cracking, or corrosion. It’s often best to replace all the rubber seals and O-rings while you have the faucet disassembled. Take the old parts to the hardware store to ensure you get exact replacements.
Step 5: Clean the Faucet Components
Before installing the new parts, use a small brush and white vinegar to clean any mineral buildup from the faucet body and handle. A clean surface will ensure a better seal with the new components.
Step 6: Reassemble the Faucet
Carefully install the new cartridge or stem, making sure it is aligned correctly. Tighten the packing nut, but be careful not to overtighten. Place the handle back on and tighten the set screw. Turn the water supply back on slowly and check for any leaks.
Expert Perspective: Avoiding Common DIY Mistakes
Many DIYers make a few common mistakes when trying to fix a leaky faucet handle. The most frequent is not turning off the water supply completely, which can lead to a major mess. Another is overtightening connections during reassembly, which can damage the new parts or the faucet itself. Always tighten connections until they are snug, but don’t force them. Finally, be sure to buy the correct replacement parts; bringing the old parts with you to the store is the best way to guarantee a match.
Frequently Asked Questions (FAQ)
How much does it cost to fix a leaky faucet handle?
Fixing a leaky faucet handle yourself is very inexpensive. The replacement parts, such as O-rings or a new cartridge, typically cost between $10 and $30. If you hire a plumber, you can expect to pay between $150 and $350 for the repair.
Can a leaky faucet handle increase my water bill?
Absolutely. Even a small leak can waste a significant amount of water over time. According to the EPA, a faucet that drips at a rate of one drip per second can waste more than 3,000 gallons per year, which will definitely show up on your water bill.
How long does it take to fix a leaky faucet handle?
For a first-time DIYer, this project should take about an hour. An experienced plumber can often complete the job in under 30 minutes. The key is to have all your tools and replacement parts ready before you start.
