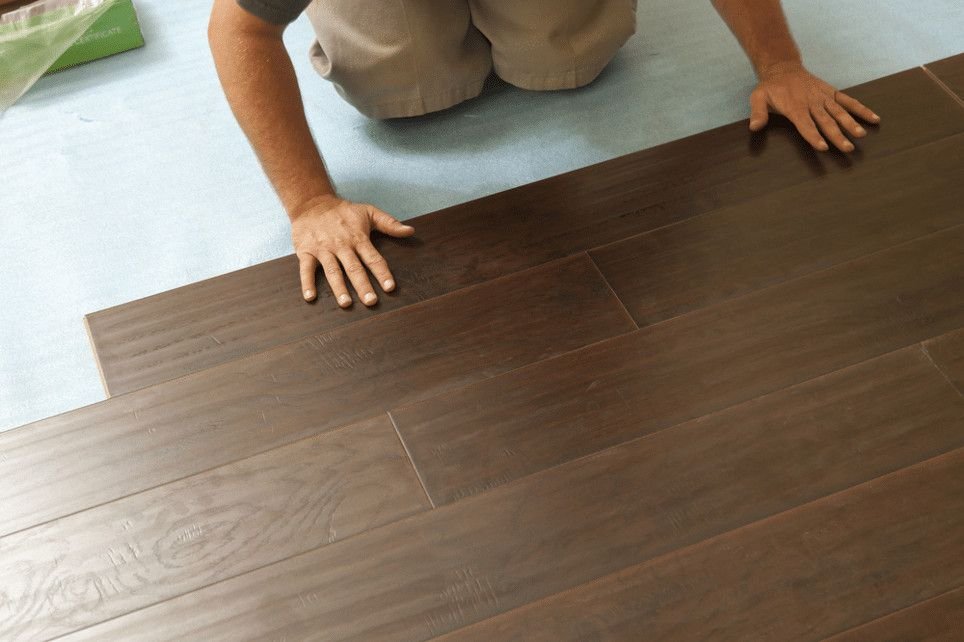
You picked out a vinyl floor that looks like hardwood but costs a fraction of the price, notes LRES Property Management Maitland. Now the boxes are stacked in your living room and you are wondering whether you can install it yourself. This is one of the most beginner-friendly flooring materials available. With the right preparation and a methodical approach, installing vinyl flooring is a project most homeowners can complete successfully over a weekend.
The two main types of vinyl flooring require different methods. Luxury plank and tile (LVP/LVT) use a click-lock system or glue-down method. Sheet products come in rolls and needs adhesive. The information below covers both click-lock and glue-down installation for LVP, the most common choice for DIY homeowners today.
Prepare the Subfloor
A smooth, clean, and level subfloor is critical for a successful installation of this flooring material. The material is thin and flexible, so every imperfection in the subfloor shows through to the finished surface. Unlike carpet or thick laminate, it does not hide bumps, dips, or debris. Taking time to prepare the subfloor correctly prevents visible imperfections in the finished floor.
Remove existing flooring, tack strips, and staples. Sweep and vacuum thoroughly. Check the subfloor for flatness using a 6-foot level. The subfloor should be flat within 1/8 inch over 6 feet. Fill low spots with self-leveling compound. Sand or grind down high spots. Even small debris under the new floor creates visible bumps that cannot be fixed after the floor is installed.
Patch any holes or damaged areas in the subfloor. For plywood subfloors, nail down any loose boards and countersink protruding nail heads. For concrete subfloors, check for moisture issues before installing the new floor. Concrete must be dry and clean. Test moisture levels with a moisture meter. Concrete moisture problems cause adhesive failure and mold growth under vinyl flooring.
Acclimate the Vinyl Flooring
Vinyl flooring needs time to adjust to the temperature of the room before installation. Unlike hardwood, it does not need humidity acclimation, but it does need temperature acclimation. Bring the boxes into the room where they will be installed and leave them for 24 to 48 hours. The room temperature should be between 65 and 85 degrees Fahrenheit during installation and for 48 hours afterward.
Check the planks for any visible defects before starting. Inspect several planks from different boxes for color consistency, surface scratches, or manufacturing flaws. Once the planks are installed, defects cannot be returned. Arrange the planks from multiple boxes as you work to ensure even color distribution across the floor and a consistent appearance throughout the room.
Plan the Layout
Measure the room and plan the layout before cutting any planks. The direction of the planks affects the appearance of the room. Planks installed parallel to the longest wall make the room look longer. Consider the natural light source. Planks running perpendicular to windows create a more natural look. Snap chalk lines to guide the first row of planks for a straight installation.
Calculate the width of the last row. Measure the room width and divide by the plank width. If the last row will be less than 2 inches wide, adjust the first row to compensate. A narrow final row looks unprofessional and is difficult to cut accurately. The first and last rows should be approximately the same width for the best visual appearance.
Leave a 1/4 to 1/2 inch expansion gap around the perimeter of the room for click-lock installation. The material expands and contracts with temperature changes. The expansion gap allows the floor to move without buckling. The gap is covered by baseboard or quarter round molding after installation. For glue-down, no expansion gap is needed because the adhesive holds it in place.
Install Click-Lock Vinyl Planks
Start the first row along the longest straight wall. Place spacers between the planks and the wall to maintain the expansion gap. Install the first plank with the tongue side facing the wall. Connect the end of the next plank by angling it into the previous plank at a 30-degree angle and lowering it flat. The locking system clicks into place when the plank is properly seated.
Continue across the room, connecting planks end to end. Stagger the end joints between rows by at least 6 inches to create a stronger floor and a more natural appearance. Use a tapping block to gently tap planks into place if needed. Do not strike the planks directly with a hammer, as this can damage the locking mechanism and cause the joint to fail over time.
Cut planks to length using a utility knife and straightedge. Score the surface along the marked line, then snap the plank along the score. For thicker planks, a flooring cutter or miter saw provides cleaner cuts. Measure twice before cutting each plank. Cutting errors waste material and delay the installation. Cut the last plank in each row to fit precisely against the wall.
Install Glue-Down Vinyl Planks
Glue-down planks require adhesive applied to the subfloor. Use the adhesive recommended by the manufacturer for your specific subfloor type. Spread the adhesive evenly using a notched trowel. Work in small sections because the adhesive dries quickly. Only spread as much adhesive as you can cover with planks within the working time specified on the adhesive container.
Place the planks into the wet adhesive, pressing firmly to ensure full contact. Use a roller to press the planks into the adhesive and remove air bubbles. A 75 to 100 pound floor roller is recommended for proper adhesion. Roll the surface in both directions after each section is installed. Allow the adhesive to cure for 24 to 48 hours before walking on the floor or moving furniture back into the room.
Glue-down does not need an expansion gap because the adhesive holds the material in place. However, the subfloor must be perfectly smooth because glue-down shows every imperfection. Glue-down installation is more permanent and difficult to remove than click-lock. Choose glue-down for rooms with heavy furniture or high traffic where click-lock planks may shift over time.
| Step | Click-lock | Glue-down |
| Subfloor prep | Same requirements | Same requirements, must be smoother |
| Acclimation | 24 to 48 hours | 24 to 48 hours |
| Expansion gap | 1/4 to 1/2 inch required | Not needed |
| Installation speed | Faster, no adhesive drying | Slower, adhesive working time |
| Difficulty for DIY | Beginner friendly | Moderate experience needed |
| Removal difficulty | Easy, can be reused | Difficult, vinyl is destroyed |
Finishing the Installation
After all planks are installed, install quarter round or shoe molding around the perimeter of the room. The molding covers the expansion gap and provides a finished appearance at the wall. Paint or stain the molding to match the baseboard or the floor. Install transition strips at doorways between rooms where the vinyl meets another flooring type.
Install baseboard over the quarter round if you are replacing baseboards. The baseboard is installed first, then the quarter round is attached to the baseboard, not to the floor. This allows the floor to expand and contract independently of the wall trim. Nail the quarter round into the baseboard, not into the flooring, for proper expansion movement.
Allow the floor to fully cure before moving furniture back. Click-lock floors can be walked on immediately but heavy furniture should wait 24 hours. Glue-down floors need 24 to 48 hours for the adhesive to cure before moving furniture. Use furniture pads under heavy pieces to prevent indentation and protect the vinyl surface from scratches and damage over time.
A flooring installer with 18 years of experience explained: “The most common mistake I see with DIY vinyl installation is not preparing the subfloor properly. Homeowners think vinyl is forgiving because it is flexible. But that flexibility means every bump and dip shows through. I have seen beautiful vinyl floors ruined by a single forgotten staple or a patch of dried glue left under the planks. Take the time to scrape, sand, and clean the subfloor until it is smooth enough to eat off of before you start installing.”
- Click-lock: faster, easier DIY, needs expansion gap
- Glue-down: more permanent, smoother subfloor, no gap needed
Frequently Asked Questions
How difficult is it to install vinyl flooring yourself?
Click-lock is beginner-friendly for a weekend project. Glue-down requires more skill. Sheet vinyl is the most difficult and best left to professionals.
What tools do you need to install vinyl flooring?
You need a utility knife, straightedge, tape measure, tap. Add a notched trowel for glue-down flooring.
Can vinyl flooring be installed over concrete?
Yes, vinyl can be installed over concrete. The concrete must be clean, dry, and level. Test moisture levels before installing. A vapor barrier may be needed for concrete slabs.
Can you install vinyl over existing flooring?
Vinyl can go over existing tile or hardwood if smooth. Cannot go over carpet. Remove carpet before installing for best results.
Does vinyl flooring need an expansion gap?
Click-lock needs a 1/4 to 1/2 inch gap around the room. Glue-down does not need a gap because the adhesive holds it securely.
Can vinyl flooring be installed in a basement?
It is a great basement floor because it is waterproof. Use click-lock for easy installation over concrete.
Which is better, click-lock or glue-down vinyl?
Click-lock is easier for DIY and can be removed later. Glue-down is more permanent and works better in high-traffic areas or rooms with heavy furniture and wheeled traffic.
How important is subfloor preparation for vinyl?
Subfloor preparation is the most important step. Vinyl shows every imperfection. A smooth, clean, level subfloor is essential for a professional-looking result that lasts.
