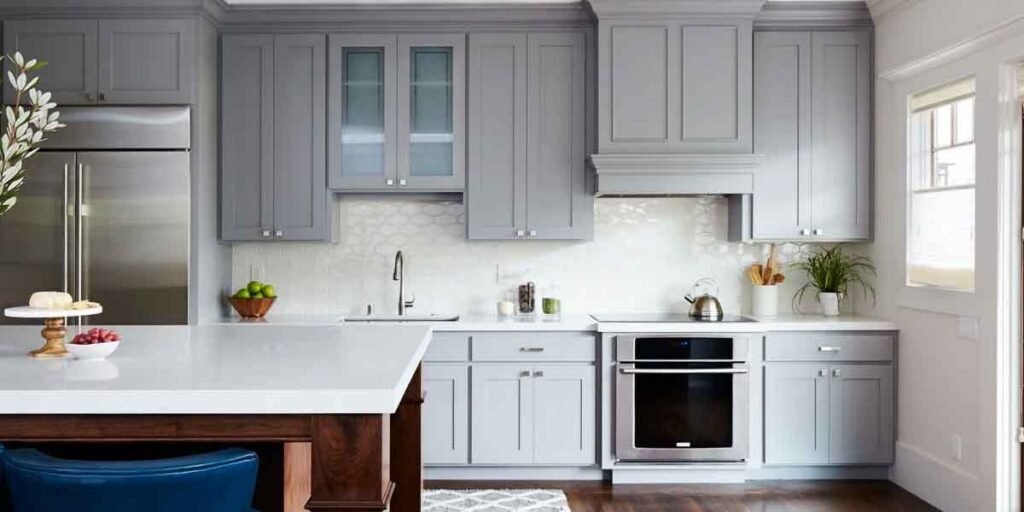
Cabinet painting holds up on wood, on painted doors, and on factory-lacquered MDF; on vinyl-wrapped doors it holds up only while the wrap is still stuck down. That one difference decides more kitchens than brush technique ever will.
The rest is learnable. Sanding, two thin coats, keeping a wet edge, the brush lines you will stare at for a week: none of it requires a contractor and none of it is the thing that fails.
Adhesion is what fails, and it is decided before the first can is open.
Which cabinet doors accept paint
Solid wood, painted wood, and factory-lacquered MDF doors take a new finish reliably once the grease and gloss are gone. Laminate and melamine doors can be coated while the film is bonded, and vinyl thermofoil can be painted only while the wrap is intact.
A door whose film has already lifted at a seam needs a new front. Cabinet painting over a wrap that is coming loose hides the problem for a season and then hands it back with a heavier bill.
Cabinet painting succeeds or fails on what sits underneath, and the materials differ more than the door face suggests. Laminate is manufactured with a release agent on its face, and Formica’s own resurfacing brief names that residue as the reason paint fails on laminate, with sanding at 220 to 240 grit as the way to remove it. Vinyl wraps need a shellac or high-adhesion bonding primer, the category sold as Zinsser BIN or INSL-X Stix, and they stay the least forgiving front in the kitchen. Thermofoil is a vinyl film heat-bonded to an MDF core, so a new finish grips the film and lives or dies with it.
| Door front | Repaintable | What it needs first |
|---|---|---|
| Solid wood, painted wood, lacquered MDF | Yes | Degrease twice, scuff at 220 to 320 grit, primer over bare or stained spots |
| High-pressure laminate or melamine | Yes, while bonded | 220 to 240 grit to break the release agent, then a thin coat of adhesion primer |
| Vinyl thermofoil | Only while the film is flat | An edge check along every seam, shellac or high-adhesion primer, no power sander |
| Wood veneer with an oiled finish | Yes, with patience | Longer degreasing, and a stain-blocking primer before a light topcoat |
| Doors with chipped or swollen edges | Repair first | Fill and sand the damage, or the new finish traces the dent |
The seam is where a vinyl door announces itself. Press a fingernail into the fold where the wrap turns around the door; if the nail slides under the film, that section of bond is gone. Heat does the rest of the work, which is why the doors beside the dishwasher and under the range hood go first.
The cross-cut test that decides the job
A cross-cut tape test on a spare door panel shows how the existing finish will behave under a new coat, before the kitchen is committed. Cut a lattice through the old finish, press tape over the cuts, pull it straight back, and look at what comes away with it. Ten minutes of that decides whether cabinet painting is a weekend or a wasted month.
The method has standards behind it. ISO 2409 was written for softer substrates such as wood and plaster, and ASTM D3359, its metal-facing counterpart, is where most factory adhesion ratings come from. Neither one needs lab equipment: a utility knife, a straight edge, and a strip of firm tape reproduce the idea closely enough to expose a finish that will let go.
Read the result with no optimism. Clean lattice lines and no lift mean the old finish is sound. Finish coming away in squares along the cuts means the primer under your new topcoat will not hold, and no amount of paint on top changes that. Repeat the test on the back of a drawer front once the new primer has cured; a coat that fails there will fail on the doors.
Degreasing and scuffing before the first coat
Two passes with a degreaser decide more outcomes than the choice of grit. Cooking oil leaves a film too thin to see, a scuff sand pushes it around instead of removing it, and whatever is painted over it lets go months later. Use TSP or a cabinet degreaser, wipe, then wipe again with clean water.
Sand by hand at 220 to 320 grit with the goal of dulling the gloss and nothing more. Stripping a factory finish down to bare wood is a different job with different risks. On thermofoil, a power sander builds enough heat to tear the wrap itself, so hand work is not optional there.
Number every door and drawer front in pencil on the hinge edge before it leaves the box. Hinges, pulls, and bumpers go into one labeled bag per door, because a builder’s kitchen mixes two or three hinge sizes and sorting them out by eye costs an evening.
By the second evening the dining table is full of doors. Drawer fronts lean in two rows against the wall, the hardware is in a dozen bags, and dinner happens standing up.
Brush, roller, or sprayer
Cabinet painting goes fastest with a brush on the edges and a short-nap roller on the flat panels; either tool used alone leaves its own mark. Rollers leave the faintest texture, brushes leave directional marks, and the two used together in that order hide both. Benjamin Moore’s cabinet supply list splits the same way, nylon or polyester brush with a microfiber roller.
Spraying wins on flat doors and loses on everything else. It needs a space that can be sealed off, a respirator rated for the product, and a booth that keeps overspray off cars, laundry, and furnace intakes. Hand painting in thin coats leaves a finish most homeowners cannot pick out of a lineup afterwards.
Dry time, cure time, and how long the kitchen is out
Paint dries in hours and hardens over weeks, and the two schedules decide different things. Benjamin Moore’s cabinet guidance sets the minimum wait before doors go back on at 24 hours in a well-ventilated area, prefers two or three days, and asks for no heavy abrasion or cleaning for at least five to seven days after that.
The rest of the cabinet painting timetable comes off the product label. Primer that has dried an hour in a ventilated space gets a 220-grit scuff before the first topcoat. An oil-modified waterborne enamel such as Benjamin Moore Advance carries a recoat window that practitioners quote at 14 to 16 hours, which turns a two-coat job into two days. That product applies between 50°F and 90°F, so a cold garage in February is the wrong drying room. Cure is the half of the schedule that runs after the finish stops feeling tacky, and it lasts weeks.
Plan the shutdown around the cure instead of the dry. Doors can hang at 24 hours. The kitchen stays fragile for the rest of the week: no scrubbing sponge, no heavy pots dragged across a front, no damp cloth parked against a door overnight.
In practice, a Saturday start on a small kitchen finishes with doors rehung Monday night, with normal cooking back around the following weekend.
Where DIY cabinet painting should stop
An owner working on their own home sits outside the federal lead-paint rules, and a paid crew sits inside them. EPA’s Renovation, Repair and Painting Rule covers anyone paid to disturb painted surfaces in housing built before 1978, and the agency states that it generally does not apply to owners working in their own pre-1978 house.
The exceptions matter as much as the coverage. Renting out part of the home, running a child care business in it, or buying to renovate and resell each removes the homeowner exemption, and the work then has to go to a certified firm. EPA banned the sale of lead paint for homes, child care facilities, and preschools in 1978, and it estimates that roughly three-quarters of pre-1978 American homes still contain some lead-based paint. A 1960s kitchen is the ordinary case, not the rare one.
Painting that kitchen yourself is legal, and EPA’s guidance for do-it-yourself work is specific: contain the work area with plastic sheeting and a taped airlock, cover the vents, mist surfaces before sanding or scraping, wear an N-100 respirator with disposable coveralls, wash hands and face each time you stop, and keep food, drink, and cigarettes out of the work zone. Wet sanding and a HEPA vacuum hold the dust down. With a child or a pregnant person sharing the home, that containment is the floor, not the thorough version.
Two other boundaries are practical rather than legal. Swollen boxes, water damage behind a run, or doors that no longer hang square need carpentry before finish work, and paint over those problems reads as damage under a gloss. A kitchen with 45 doors and no garage to spread them out belongs to someone with a spray booth.
A crew prices those same doors by the front or by the running foot of cabinet face, and cabinet painting cost shows what each style of quote includes and leaves out. Reading that comparison before buying primer is worth ten minutes, because the two paths look close until the inclusion lists sit side by side.
Questions cabinet painting forces you to answer
Can I just paint over my cabinets?
Yes on wood and already-painted doors, and no on vinyl wrap that has lifted at a seam. Cabinet painting that skips the degreaser and the scuff still looks fine for a few months, then chips at the door edges and around the pulls where hands land every day.
Is it easy to paint cabinets yourself?
The steps are simple and the schedule is not. Cabinet painting is beginner work with a long middle: two thin coats, a day or more between them, and a week of gentle use before the finish hardens.
What is the best DIY cabinet paint?
A waterborne alkyd enamel made for trim and cabinets, such as Benjamin Moore Advance or Sherwin-Williams Emerald Urethane Trim Enamel. Wall paint stays too soft for the work: a cabinet painting job on doors takes daily knocks at the edges and around the pulls, and oil-based paint yellows over white within a couple of years.
Can you paint kitchen cabinets without removing the doors?
Yes, and the finish will show it along the edges. Brushing in place leaves a ridge where a door meets the frame and traps paint in the hinge shadow. Taking the doors off costs an afternoon.
What happens if you paint cabinets without sanding?
A liquid deglosser can replace sanding on sound wood and on doors that are already painted. It cannot fix grease or a slick factory film, and that is where the paint lets go, in sheets on laminate and in clear chips on lacquer.
